How to Turn a Photo Into a Silhouette on Iphone
Silhouette photos are incredibly powerful and eye-catching, and it's surprisingly easy to capture these images with the iPhone. Silhouettes add drama, mystery and interest to an image, emphasizing the shape of the subject and creating strong focal points in the composition. In this tutorial you'll discover all you need to know about how to take stunning silhouette photos with your iPhone.

What Is A Silhouette?
A silhouette is where a person, animal or other object appears as a solid color against a light background. Usually a silhouette photo is black, but it's not a hard and fast rule. As long as the subject you're photographing is darker against a lighter background, then you have a silhouette.

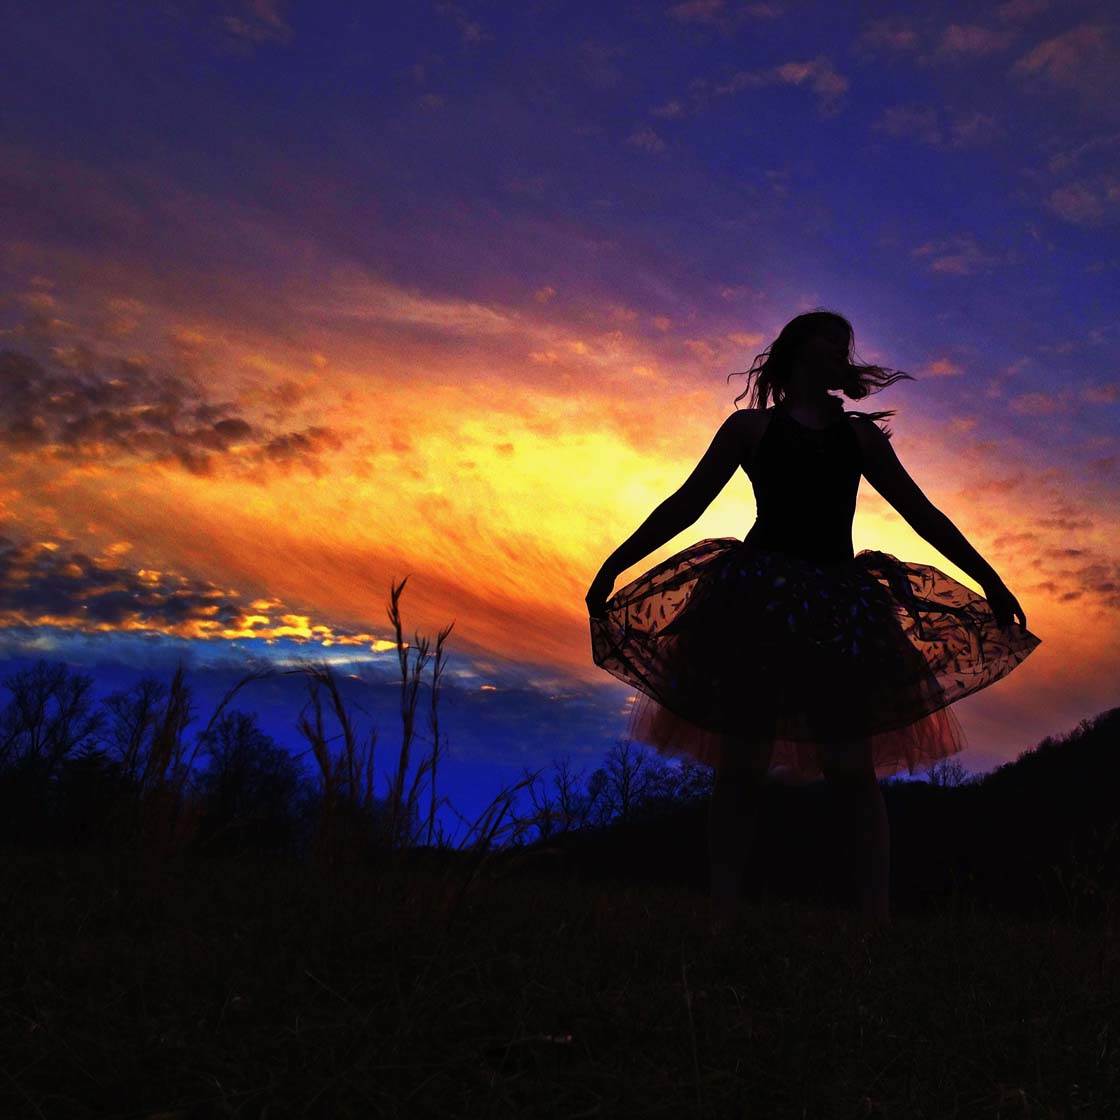
Sometimes you may want to create what is called a partial silhouette. This is when the silhouette can have subtle features such as patterns in clothing, subtle facial features, leaf and bark texture, etc.

It's up to you as the artist as to how you want your silhouette to look. If you don't want any detail to be visible in your subject, work towards creating a full silhouette. But if you want to see subtle features, a partial silhouette is ideal.
What Makes A Good Silhouette Subject?
There are many different subjects you could use for your silhouette. Just make sure you choose something that has a strong shape and is easily recognizable as a two dimensional image.
People make a great silhouette against a beautiful setting sun, along a street, in front of a bank of windows, or even behind a curtain or sheet.
You should also consider using anything in nature such as a beautiful tree, interesting foliage, birds or other animals. Even using a skyline makes a great silhouette, especially if you live in a large city with iconic buildings.

Anything with a strong shape can be a wonderful subject for a silhouette shot. Be creative, experiment, and don't be afraid to try something new and different.
How To Create A Silhouette
Usually we think of photographing a subject with lots of light on or around the subject. However, when shooting a silhouette the light needs to be behind the subject, rather than illuminating the subject from the front. This is called backlighting.

Also, you should remember that what you see is not what the camera sees. You may see the detail in your subject just fine, but the camera is focusing on the strong light.
To create a silhouette, simply make sure your subject is in front of any light source, whether it's a setting sun or a bank of windows if you're indoors. Remember, you always need to shoot into the light for silhouette photos.

Frame your shot and tap the lightest part of the photo, e.g. the bright sky, to set exposure for the brightest part of the scene. By exposing for the brightest part of the scene, the areas that are not so bright, such as the foreground and your subject, will appear under-exposed (darker than normal).
If you need to make the subject even darker to turn them into a silhouette, simply reduce the exposure of the image by swiping your finger down on the screen.
A good silhouette photo should have a subject that appears very dark, if not totally black, and it should also be very crisp and in focus. Below are some useful tips to help you create amazing silhouette photos.
1. Create Silhouettes Against The Sun
When photographing your subject using the sun as your light source, make sure the sun is either low in the sky or just out of the frame so that it's not too bright.

The best time to shoot outdoor silhouettes is either sunrise or sunset when the sun is not as bright.

Sometimes the sun can be used along with the subject as a focal point or prop. In the photo above you can see that I carefully positioned the sun so that the branches appear to be cradling it.
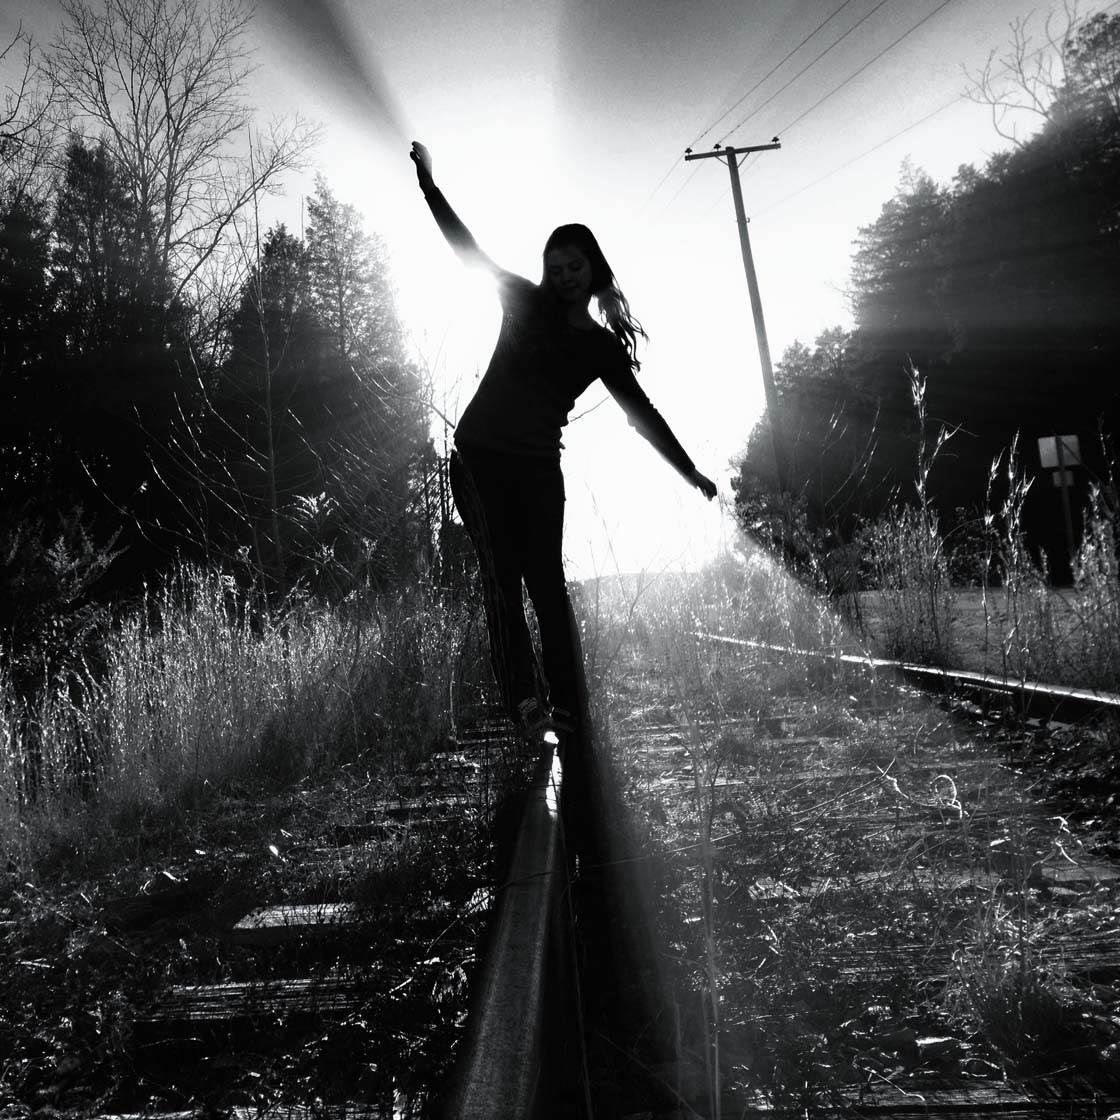
You may even use sun flare to enhance your image. This can sometimes be difficult to get right, but when you do the results can be very dramatic. Experiment with shooting from different angles until the sun flare enhances your image, rather than ruining it.
2. Create Indoor Silhouettes
Indoor silhouettes can be beautifully captured using the same technique as when you use the sun for the light source. Simply find a strong light source inside, such as a lamp or the sun shining through a window.
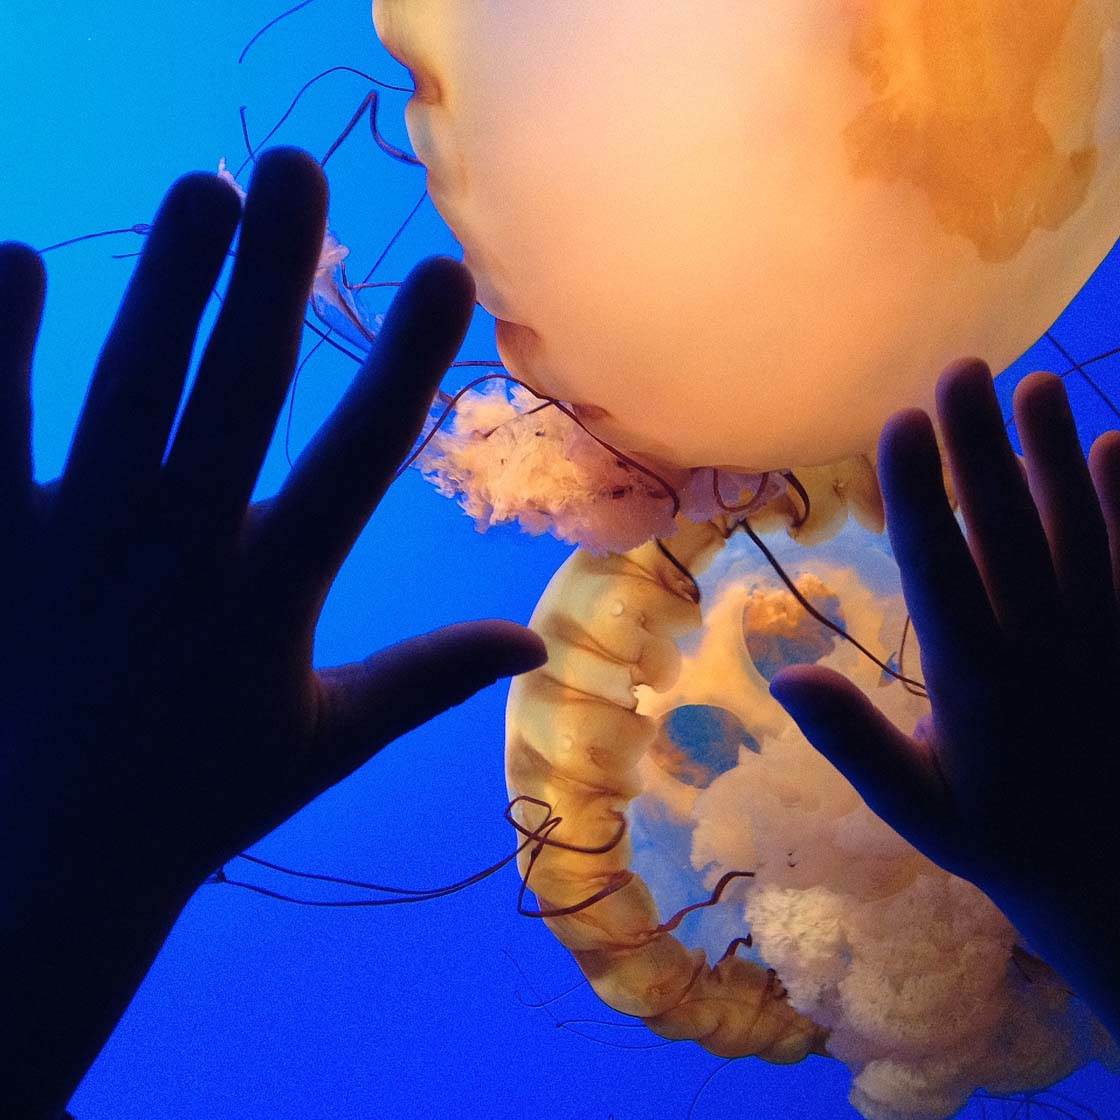
Position your subject in front of the light and frame your shot. Experiment with this technique to capture a dramatic and mysterious photo that piques the viewer's imagination.
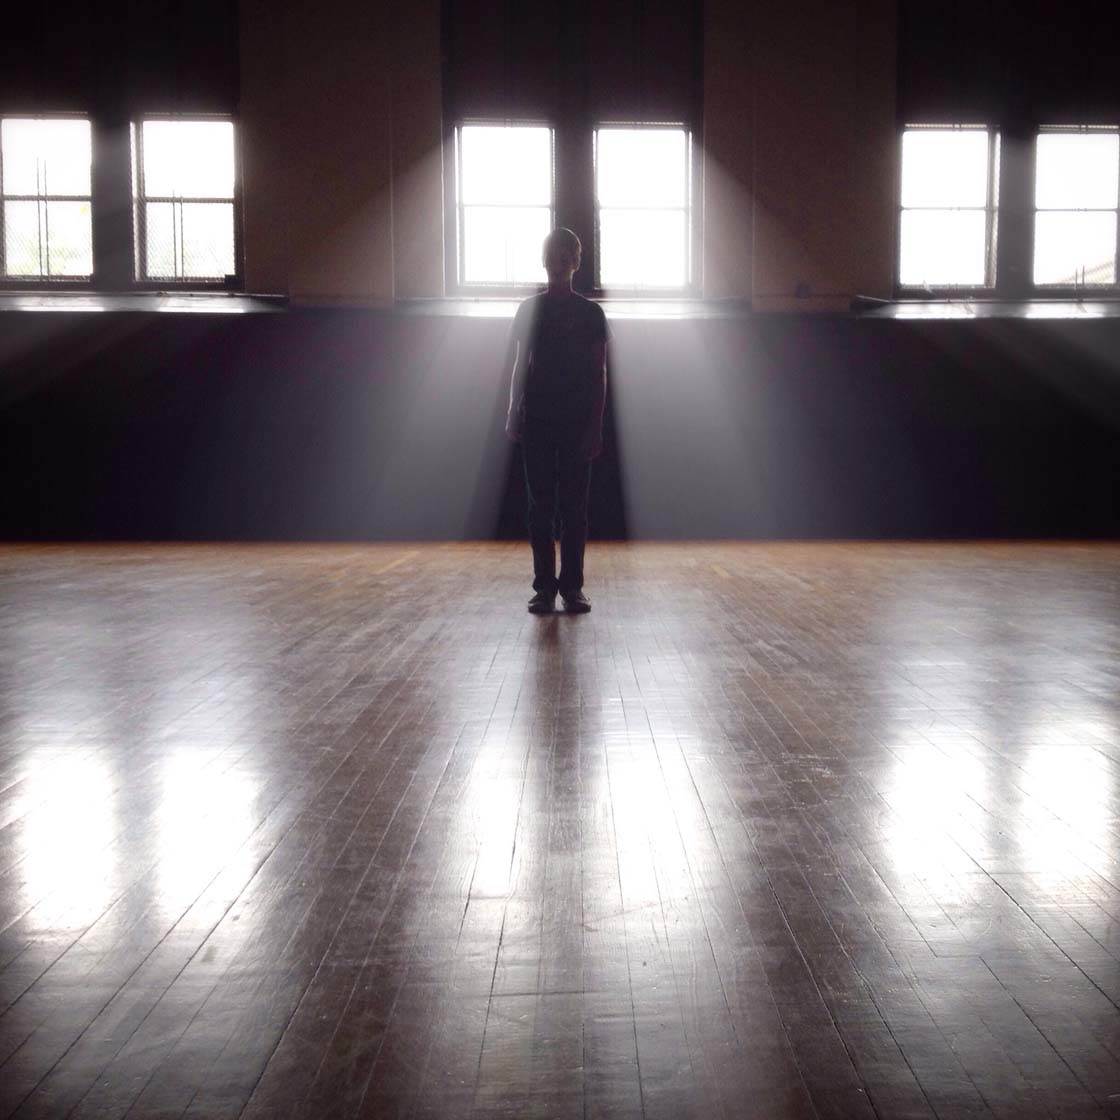
With enough practice you can even photograph a person's profile or entire body encircled by a lovely white glow or outline.
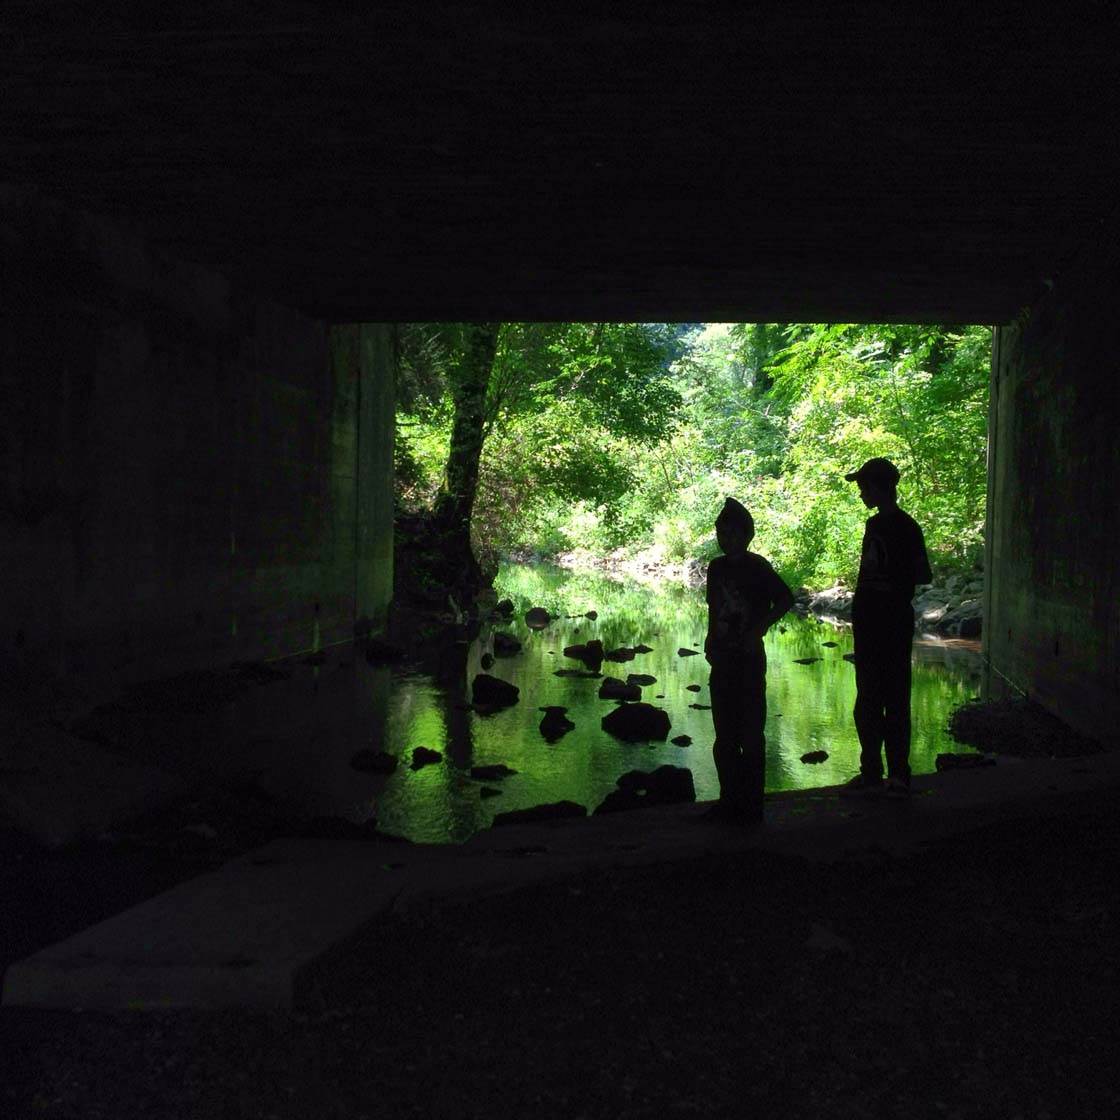
3. Use Simple Backgrounds
Using all that you've read so far, make sure you keep the background simple and clutter-free when you're creating silhouette photos.

To achieve this, sometimes you must shoot from a very low angle to get more sky behind the subject. Most of the time you've really got to get very low, sometimes even on your belly to get the best shot.

A cloudless sky is nice, but there are times when clouds can have a dramatic effect on the overall image. Just as long as the clouds are much lighter and don't take away from the focal point.

You could also use birds, trees or other objects in the background to complement the subject. Be observant and take a lot of photos so that you have something to choose from.

4. Ensure Your Subject Is Positioned Correctly
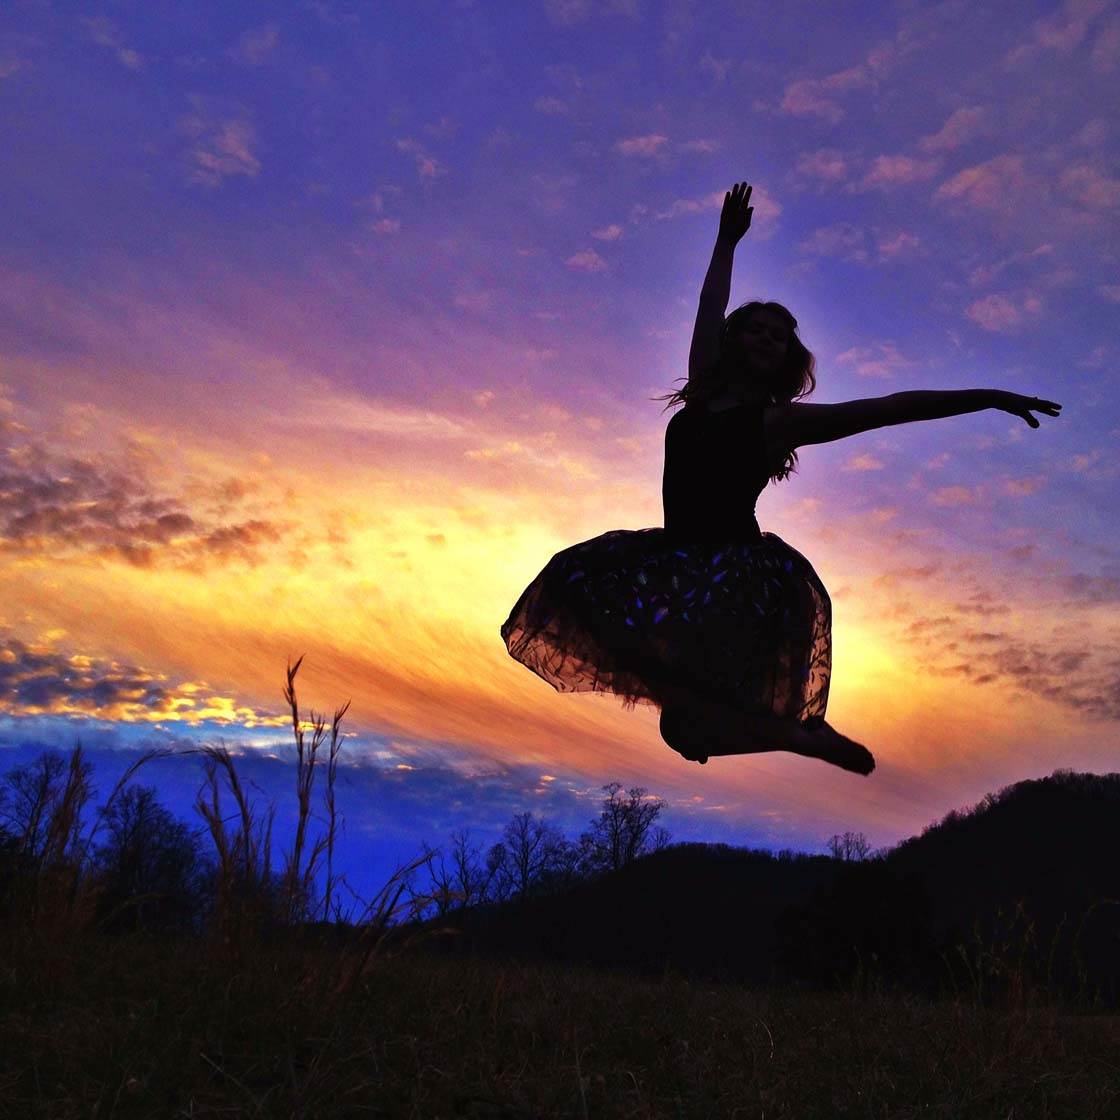
If you're taking a silhouette of a person, make sure they're not standing with their arms and legs together, otherwise they'll most likely end up looking unrecognizable. It usually looks best when you can make out the outline of their limbs.

Again, be creative. Have the subject doing something or moving in a certain way. This will create an interesting photo that tells a story and engages the viewer.
5. Edit Your Photos With Care
Most of the time, silhouette photos are beautiful without any heavy editing. Usually just a simple adjustment of brightness and contrast are needed to finish the photo.
Brightness and contrast are great for tweaking the exposure to get the silhouette effect just right. Make sure you don't brighten the shadows or they'll end up looking grainy. You're aiming for very dark or even black shadows.
While simple and subtle adjustments are normally all you need, if you want to convey a sense of drama you may want to use a variety of editing apps that will change the color, texture and tone of your shot. Only do this kind of editing if it adds to the overall effect and makes sense for that particular image.
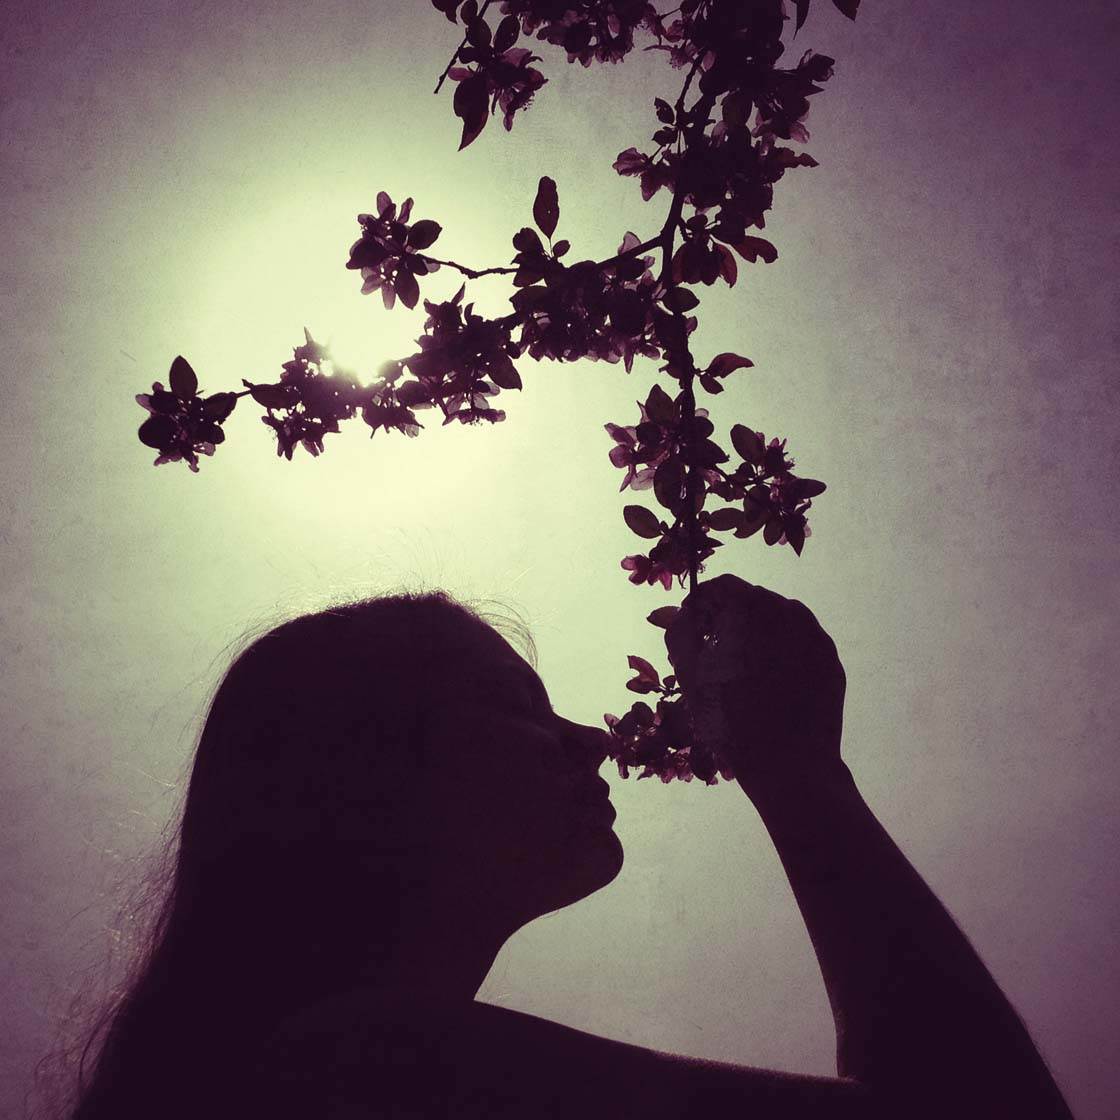
For example, the purple tones added to this photo enhance the color of the flowers and add to the pretty, floral theme of the image. The dark, textured vignette around the edge of the photo help to focus the eye on the main subjects in the middle.
With some practice and the techniques described above for taking and editing silhouette photos, you should be able to easily capture striking silhouettes with your iPhone. For more tips on how to take amazing silhouette photos with your iPhone, check out our other silhouettes tutorial.

How to Turn a Photo Into a Silhouette on Iphone
Source: https://iphonephotographyschool.com/silhouettes/